Screen Space Path Tracing – Diffuse
The last few posts has been about my new screen space renderer. Apart from a few details I haven’t really described how it works, so here we go. I split up the entire pipeline into diffuse and specular light. This post will focusing on diffuse light, which is the hard part.
My method is very similar to SSAO, but instead of doing a number of samples on the hemisphere at a fixed distance, I raymarch every sample against the depth buffer. Note that the depth buffer is not a regular, single value depth buffer, but each pixel contains front and back face depth for the first and second layer of geometry, as described in this post
The increment for each step is not view dependant, but fixed in world space, otherwise shadows would move with the camera. I start with a small step and then increase the step exponentially until I reach a maximum distance, at which the ray is considered a miss. Needless to say, raymarching multiple samples for every pixel is very costly, and this is without a doubt the most time consuming part of the renderer. However, since light is usually fairly low frequency information, it can be done at lower resolution and upscaled using this technique. I was also surprised that the number of steps needed for each ray is also quite low, as long as the step size is exponential, starting with a small step and then increase the step size gradually. This will capture fine detail near creases while also preserving occlusion from bigger obstacles nearby.
In the case of a ray miss, I fetch light from a low resolution environment map and in case of a hit, I fetch light from the hit pixel reprojected from the previous frame. This creates a very crude approximation of global illumination since light is able to bounce between surfaces across multiple frames. This is also what enables me to light objects using emissive materials as shown in this video. Here is pseudo code for the light sampler:
function sampleLight(pixel, dir)
	stepSize = smallDistance
	pos = worldPos(pixel)
	for each step s
		pos += dir * stepSize
		if pos depth is occluded by first or second layer of pixel(pos) then
			return fraction of light from pixel(pos) in previous frame
		end
		stepSize *= gamma (greater than one to increase step size)
	end
	return fraction of light transfer from cubeMap[dir]
end
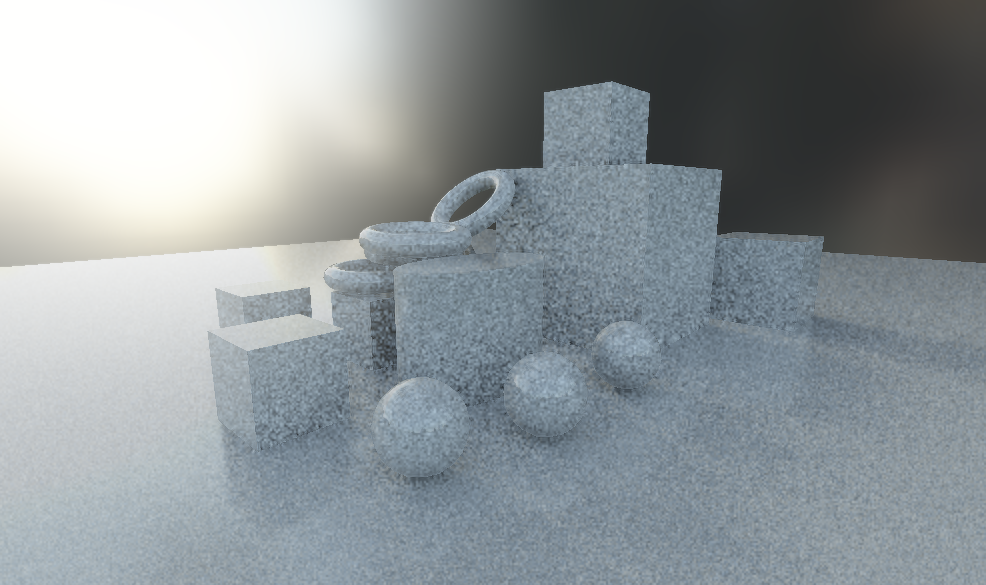
Like any path tracing, what comes out will contain a certain amount of noise. Even on a powerful machine and in half resolution, there isn’t time for more than a handful samples per pixel, so noise reduction is a very important step. This is what it looks like without any noise reduction at sixteen samples per pixel, and each sample is marched in twelve steps. Click image to view high resolution.
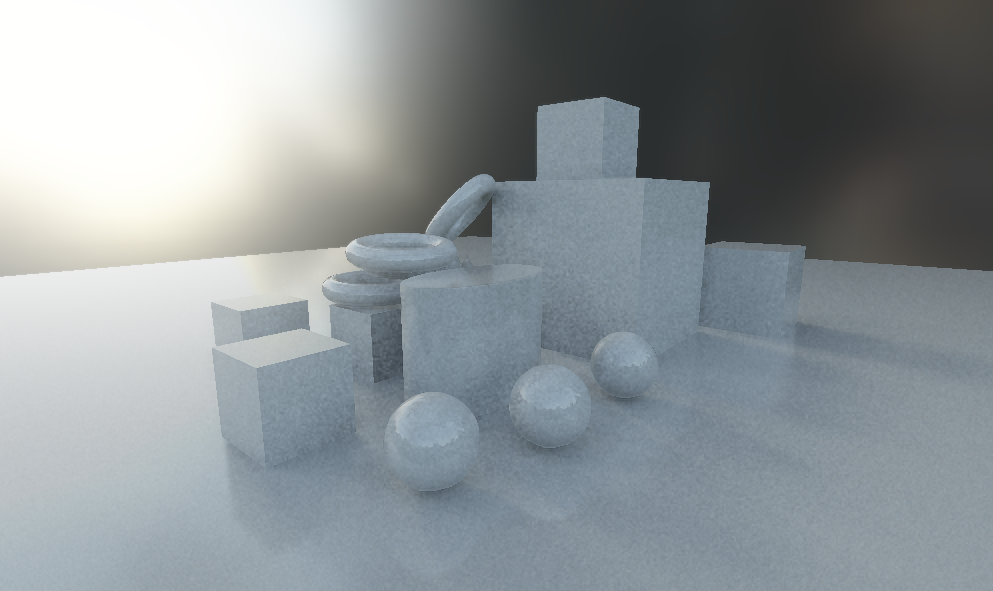
After applying a temporal reprojection filter, I get rid of a lot of the noise. Note that the filter runs on the light buffer before it gets applied to the scene using object color, etc. The problem with temporal filters is of course that areas where information is missing will be very noticeable during motion. Therefore, this filter cannot be too aggressive. I keep it around 70% and I also compare depth values in order to avoid ghosting.
After the temporal filter, I also apply a spatial filter that uses object ID, or more specifically smoothing group ID, to not blur across different surfaces. Again, this filter cannot be too aggressive, or fine detail will get lost. I use a 7x7 pixel kernel in two passes.
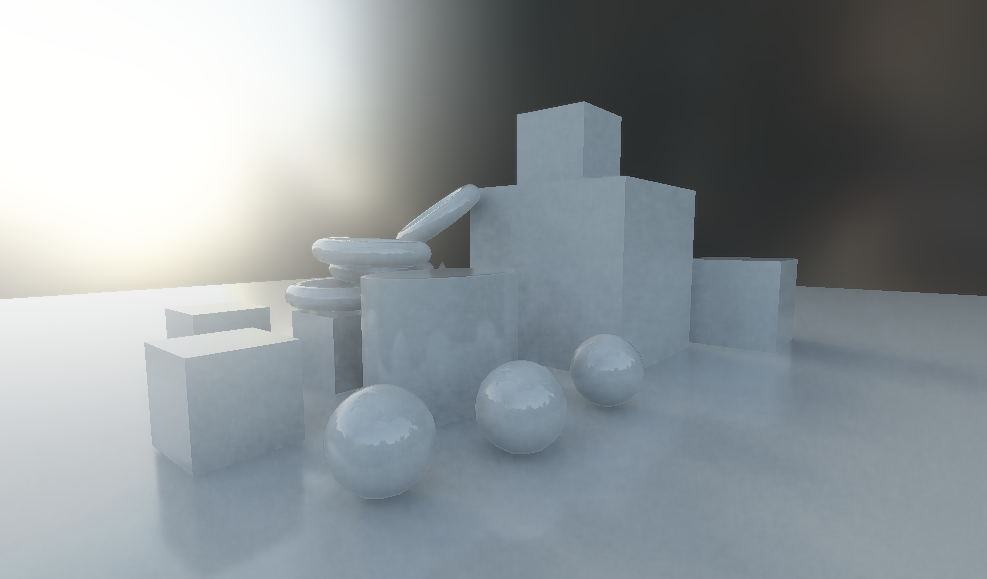
There is still some low frequency noise present, but when it will get eaten by temporal anti-aliasing and the final image looks like this.


